Promoting your blog posts on social media is a crucial part of having a successful blog. Today, I am going to show you how you can create a Facebook page for your blog.

*This post contains affiliate links. Please read my full disclosure policy for further details.
While some people might think they should set a regular Facebook profile with their blog name, it’s actually better to set up a fan page. That way your fans can “like” your blog without having to add you as a friend, and the page functions will be easier to control.
Let’s begin. If you don’t have a personal account already, then get one. You will need it in order to create a business page. It’s super quick and easy to sign up. For the purpose of this article, I’m already going to assume you have a personal account and are logged in to Facebook.
Pin it to save for later!
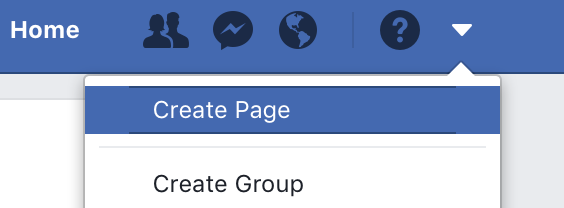
1. Create A Facebook Page
Click on the drop-down arrow and click on Create Page.
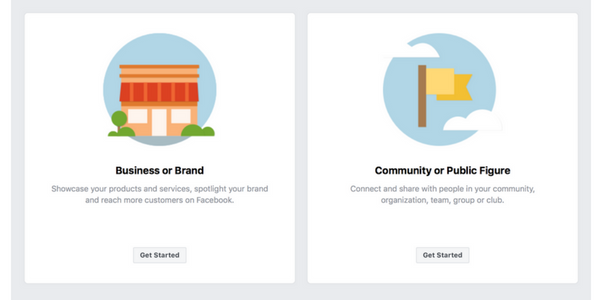
2. Select Your Page Type
If you have a blog you will want to choose the Business or Brand option.
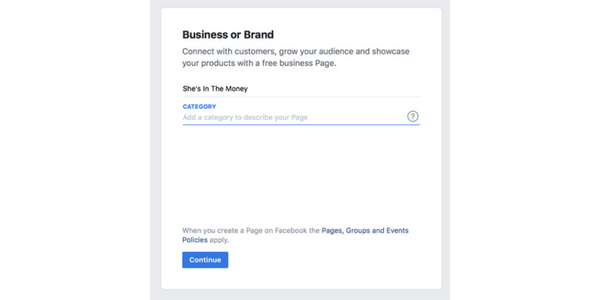
3. Name Your Page
Type in the name of your blog under page name.
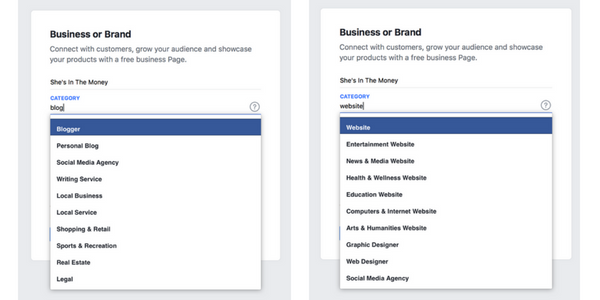
4. Choose A Category
Here you just type in a word and suggestions will pop up. If you are a blog or website, you can type in both to see the options. I didn’t see a specific option for my blog so I just chose website.
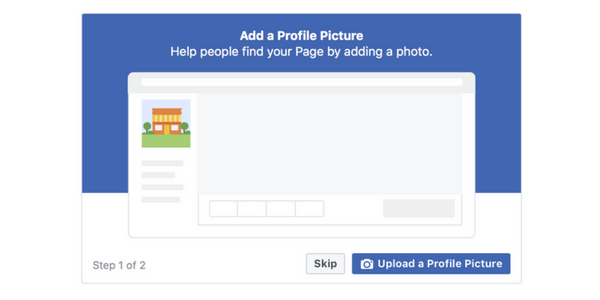
5. Add Profile Picture
Next, you’ll be prompted to upload a profile picture. The picture size for your profile picture should measure 320 pixels (wide) x 320 pixels (tall). If your upload image is smaller than these dimensions, Facebook will stretch the image and it will appear blurry.
I would suggest adding a photo of yourself or a logo badge. If you can’t decide or don’t have one yet, feel free to skip this step – you can always add one later.
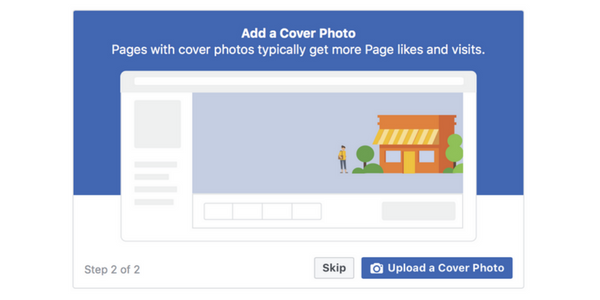
6. Add Cover Photo
After that, you will have the option to upload a cover photo. The picture size for your cover photo should measure 851 pixels (wide) x 315 pixels (tall). Again, if your upload image is smaller than these dimensions, Facebook will stretch the image and it will appear blurry.
This is where I would add your actual blog logo. Again, if you don’t have one right now, you can always skip this step and add one later.
7. Explore Various Settings
Feel free to explore the various settings and options. There are all kinds of prompts to help you understand what to do. Follow the next steps in the page tips and also go to the About section to edit your details.
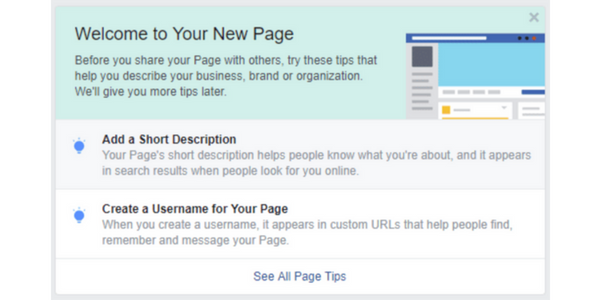
8. Add A Short Description
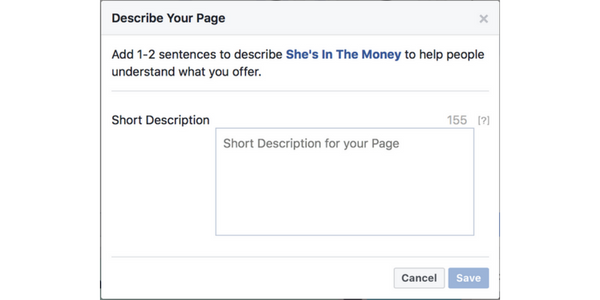
Write a short description that is 1-2 sentences long (155 characters) to help people understand what your blog is all about.
9. Create A Username
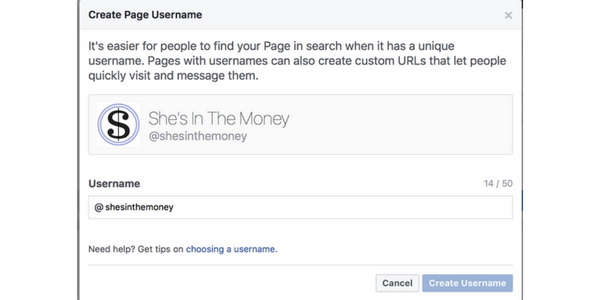
Please be aware that you may not be able to create a username right away for your new page. I was lucky when I created mine that it gave me the option to do so. I’m not sure why I was given the option immediately, considering it states in the Facebook help center that you need at least 25 likes and 1 post before they will let you add a username. Seems like others have come across this as well, but I couldn’t really find any answers.
10. You’re All Done!
There are some other things you’ll need to do, like mention your Facebook fan page on your blog, with a link or button so people can go “like” it, but other than that, your fan page is all set up and ready for you to post.
Be sure to out the She’s In The Money Facebook page and give it a like!
TWO MORE THINGS: When you visit Facebook from your personal profile, your blog page will now show up in the navigation on the left. All you have to do is click to view your page and the notifications specific to the page.
Also, when you post something on the fan page, it will show up as your blog name, not your real name. However, if you are going to visit another page and you want to comment from your blog name instead of your personal profile, look at the bottom of the specific post and you will see Like/Comment/Share and then to the right will be your profile picture with a drop-down arrow. This is where you can choose who you want to comment as.
Final Thoughts
Over the past decade, social media has become one of the most important factors of online success. Facebook has more users than any other social media platform, with around 2.2 billion (yes billion) users per month. So, it goes without saying that not utilizing this platform to advertise your business or blog would be a huge mistake.
I hope this article has helped you set up your Facebook page for your blog. If you have any questions, let me know in the comments below and I will try to help.
✨If you are new to my blog, my main focus here is to help you make and save more money. One of the best ways I have found to make extra money online is by starting a blog. I love helping other people with tips and tricks on how to build a blog. Be sure to check out the Blogging Tools section of my Resources page to see all the products and services I recommend!✨


This is a great article and it helped me set up my business account. However, when I posted something personally, it showed up on the business page and I can’t choose some groups to follow. What am I missing in my setup? Thanks
Hi there! Your business page is separate even though they are under your personal account. You would have to be on your business page and post something from there for it to show up on your business page. Posting anything on your personal page will not show up on your business page. They are not linked together like that. As far as groups go, I’m not sure what you mean by follow? You can only join groups on Facebook. Once you join the group you will then be following it and it will show up in your newsfeed. Let me know if you have any more questions!
Hello! I’m creating a Facebook page for my blog and I was just wondering how it works in regards to being connected to my personal account. I’ve had my personal account for a good few years now so there are some random things on there. Will my group members be able to see all of this? Am I best set up a new account?
Hi Jessica,
No, you do not need to set up a new account. You will be able to manage one or multiple business pages from your personal account. I have 3 facebook business pages that I manage from my personal account right now and it makes it much easier to be able to manage everything from one account. No one will ever be able to see what is on your personal page unless you are facebook friends. Every page you have remains separate and you are even able to choose which page you want to use when liking or commenting on something. Let me know if you have any more questions!