Google Search Console is a free web service by Google for
Related Article: What Is Google Search Console? (And Why You Need It For Your Blog)

*This post contains affiliate links. Please read my full disclosure policy for further details.
Setting up Google Search Console is
However, before you set up
So, if you do not have one set up yet and you’re unsure how to do that, I have some helpful articles to assist you.
Related: What Is Google Analytics? (And Why You Need It For Your Blog)
Related Article: How To Set Up Google Analytics For Your WordPress Blog
If you do already have Google Analytics set up you can proceed to Step 1 to start setting up Google Search Console.
For the purposes of this article, I am showing you how this was set up for my beauty blog Electric Eye Beauty (just in case you are wondering what website it is that is shown in the
Pin it to save for later!
Set Up Your Google Search Console Account
Step1: Make sure you are logged in to your Google account that is associated with your blog.
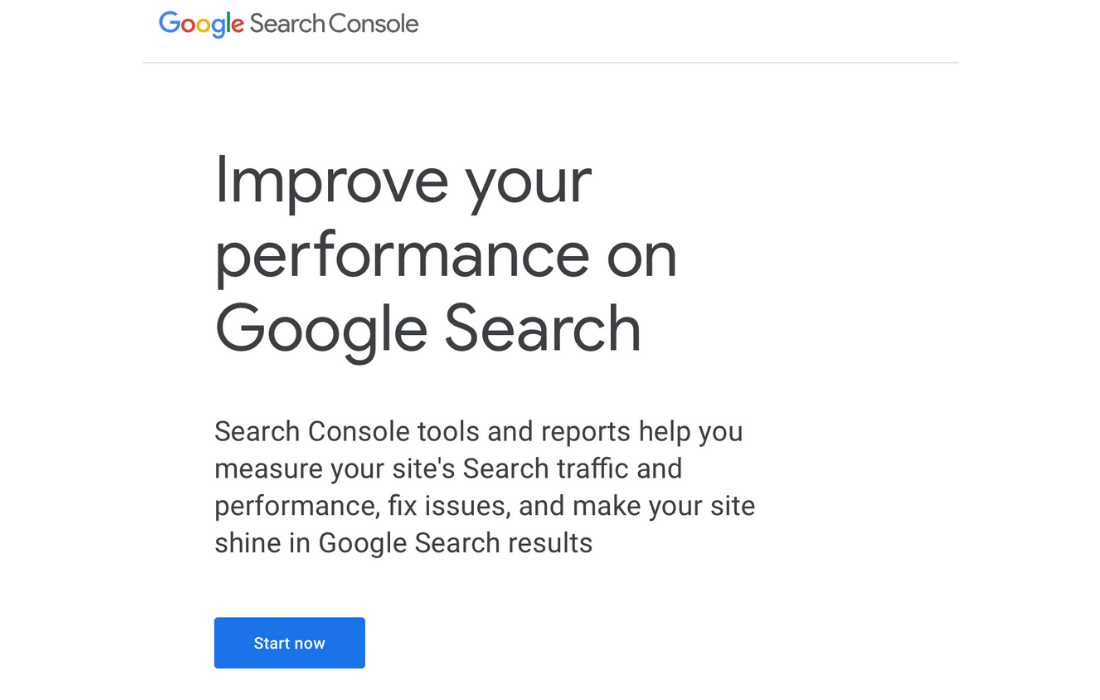
Step 2: After you are logged in, head over to the Google Search Console website.
Step 3: Click on the Start Now button.
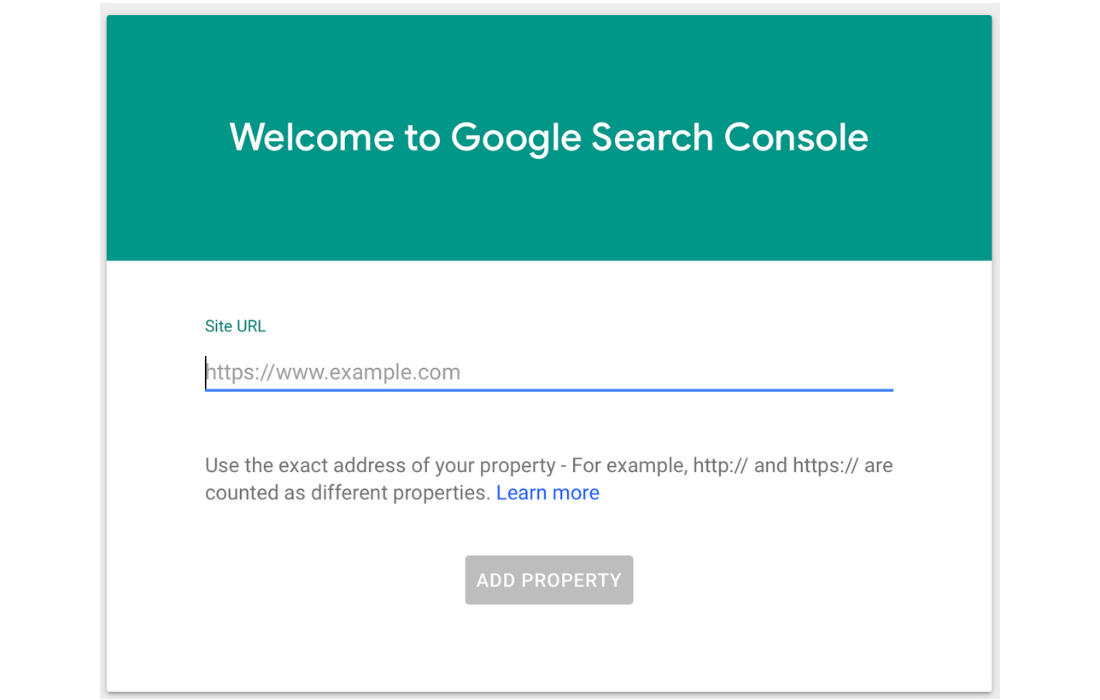
Step 4: Enter the URL of your website. Then click the Add Property button.
Google Search Console Verification
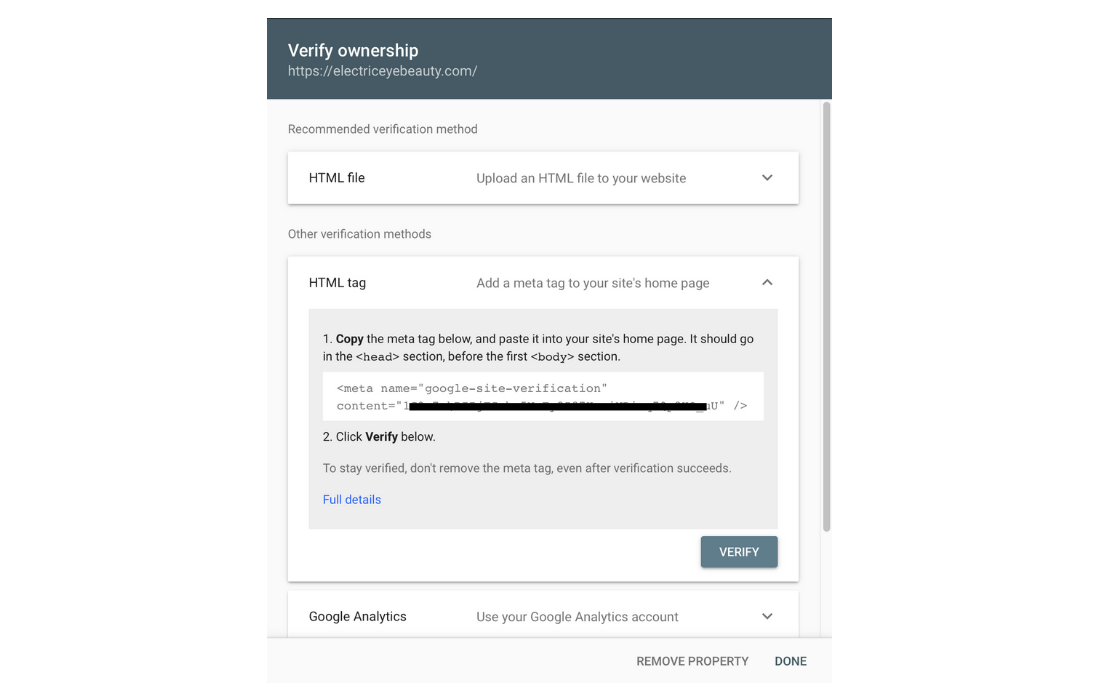
Step 5: You will now need to verify website ownership. There are several ways you can do this.
- HTML File Upload – You will need FTP access to your website
- HTML Tag – Add a meta tag
- Google Analytics – Must have a Google Analytics Account
- Google Tag Manager – Must have a Google Tag Manager Account
- Domain Name Provider – Edit DNS settings
I chose to add an HTML tag. You will just add a meta tag to the header of your homepage.
I have the Genesis framework with a child theme so all I had to do was copy the code under the Genesis>Theme Settings>Header Scripts section in my dashboard.

Once you copy and paste the code you can go back to Google Search Console and click Verify. You will then get a confirmation like the one shown below.
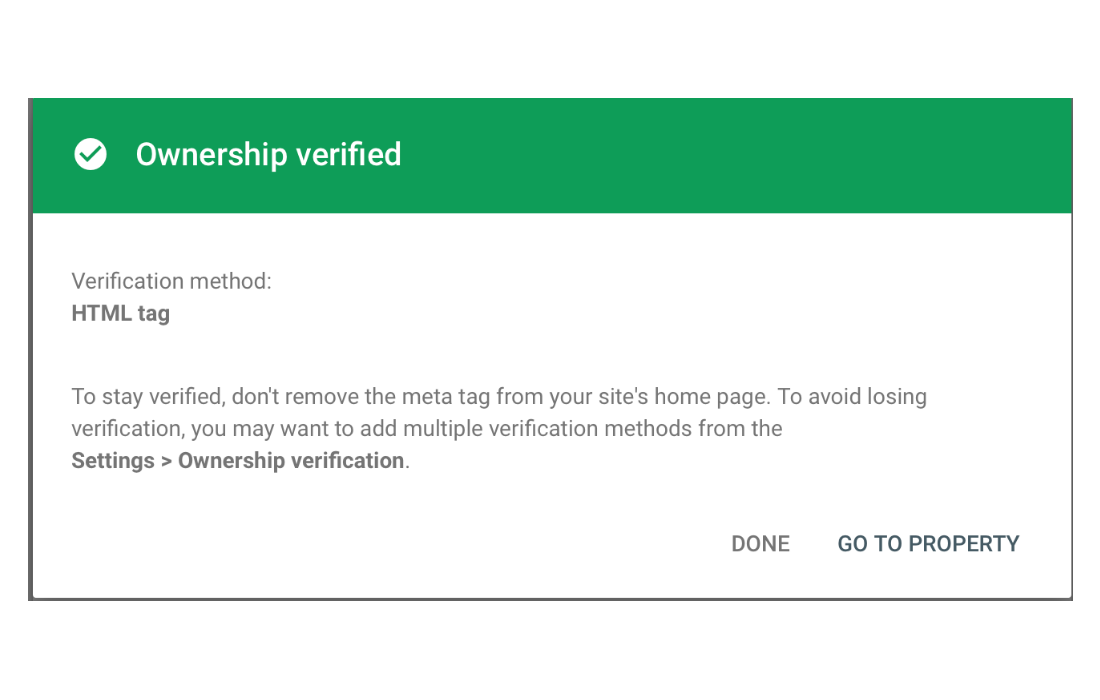
When your site has been verified by Google Search Console, do not remove the verification code from your website. If the code is removed, it will cause your site to become unverified
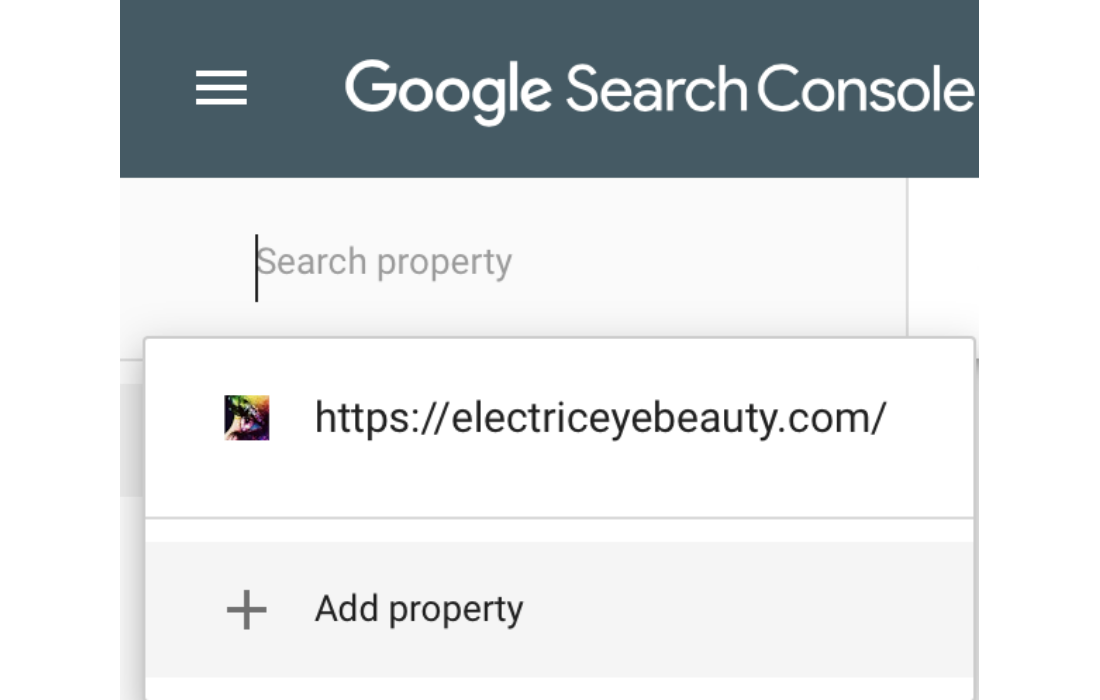
Google Search Console Properties
Step 6: Now you will proceed to add the rest of the properties (URL’S of your website). Even though you should be using only one version of your website you need to show Google Search that you own all versions. For example here are all the versions you would need to add:
Note: If your website is only being served from the HTTP protocol you would only need to add the first two versions. However, if your website is being served from the HTTPS protocol, you will need to add all four versions.
This is usually not typical, but if you have any subdomains to your website you will need to add all the appropriate versions as well. For example:
Click on Add Property. Enter each URL version one by one and verify after each one is added.
Google Search Console Sitemap
Step 7: One key benefit of Search Console is to make sure Google is crawling your website properly and indexing all relevant pages.
To do this, you need to add an XML sitemap to your Google Search Console.
This will be listed in the options on the left-hand side of the screen.
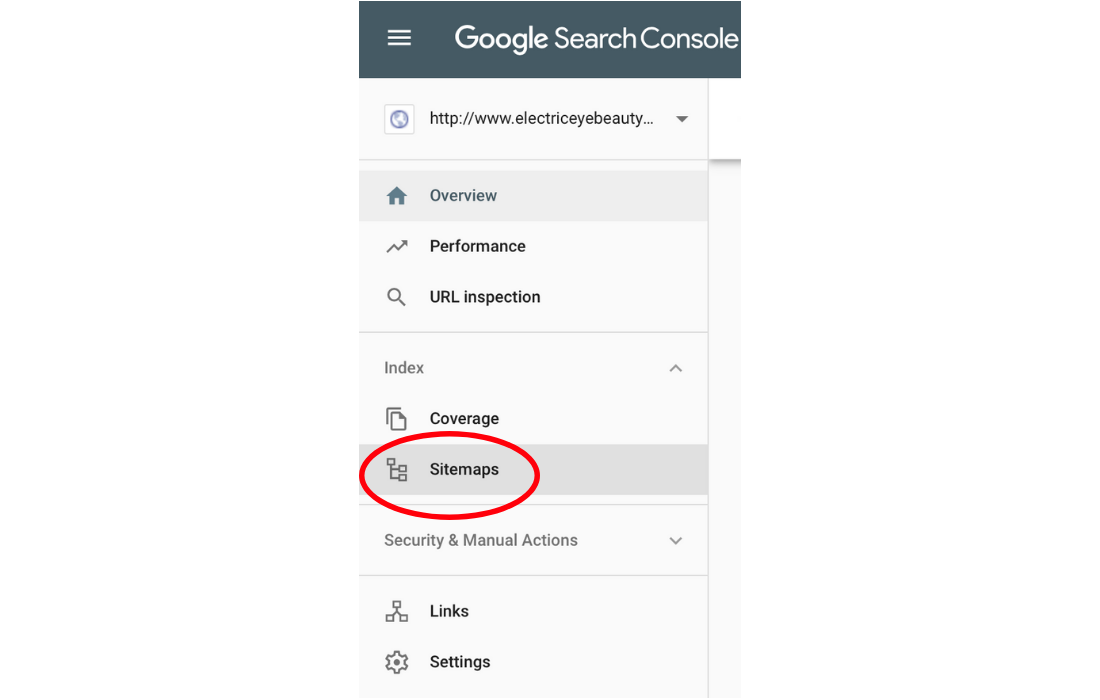
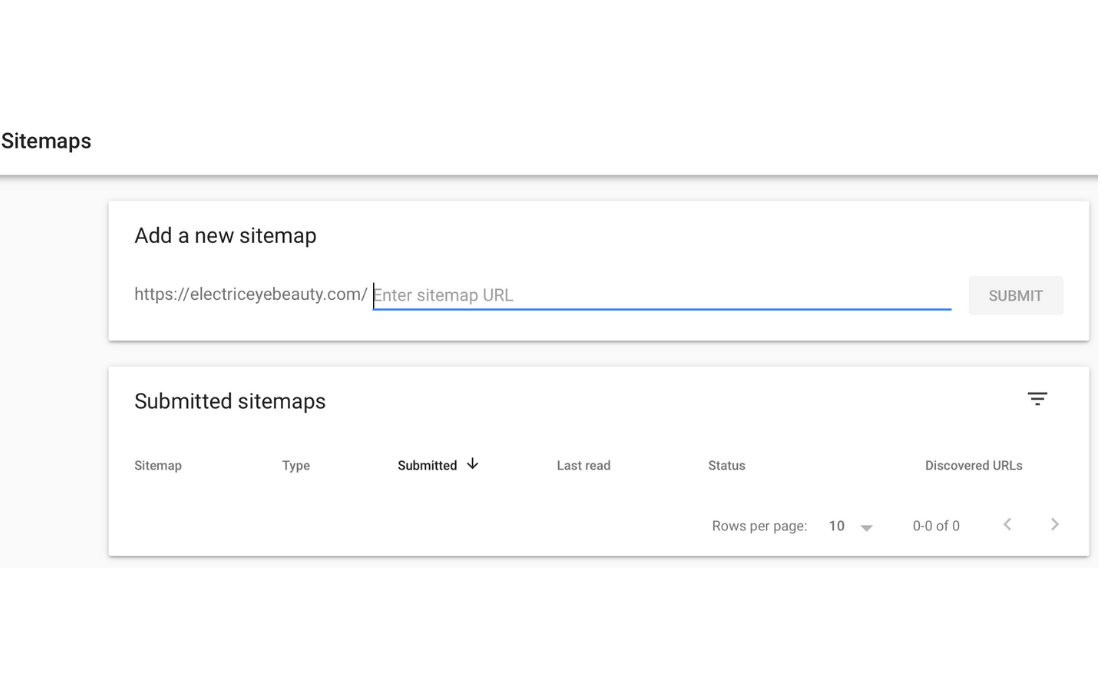
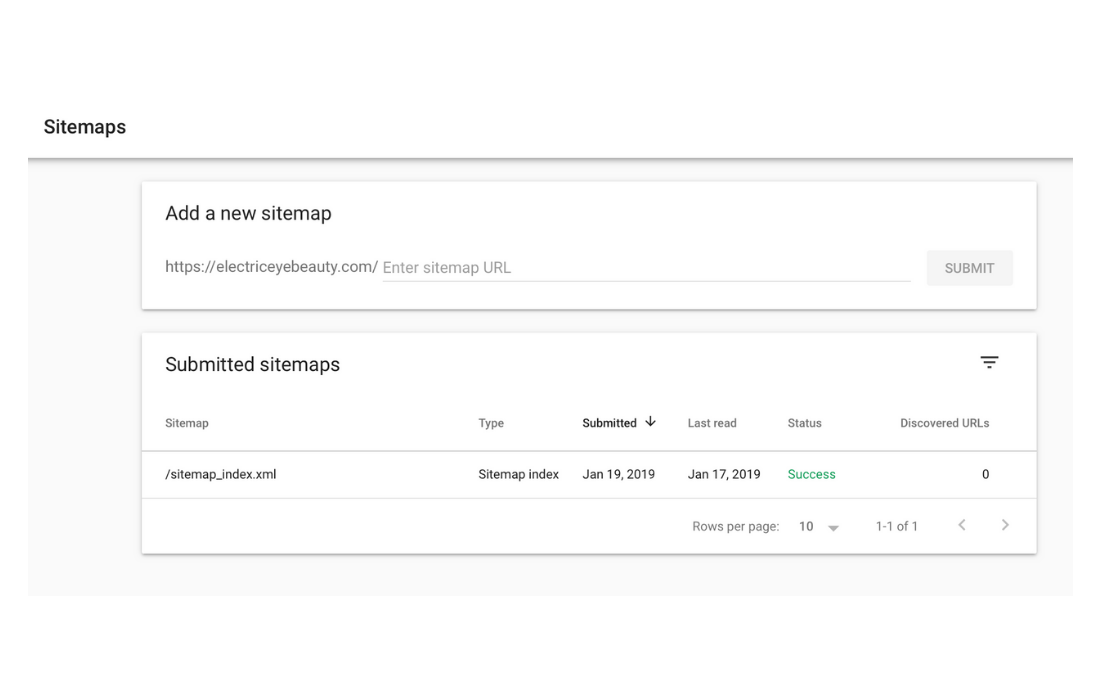
After you click on Sitemaps you will see what is shown below.
Before you can submit your sitemap, you will need to create one. Since this article is specifically about WordPress, you can easily get a sitemap by using the Yoast SEO plugin.
The Yoast SEO plugin automatically generates XML sitemaps for your website.
Hopefully, you already have this installed. If not, go ahead and download the free plugin now in your WordPress dashboard.
So now let’s head over to your dashboard to get your sitemap URL by using the Yoast SEO plugin. Go to Yoast SEO > General > Features.
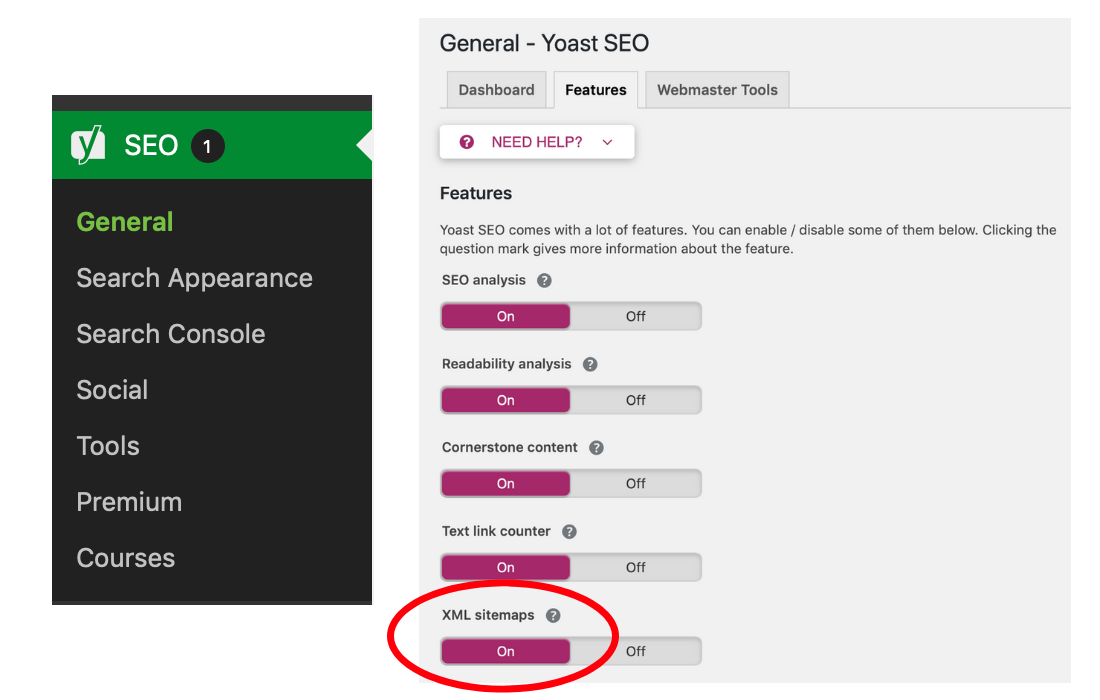
Click on the “?” and the message below will appear.
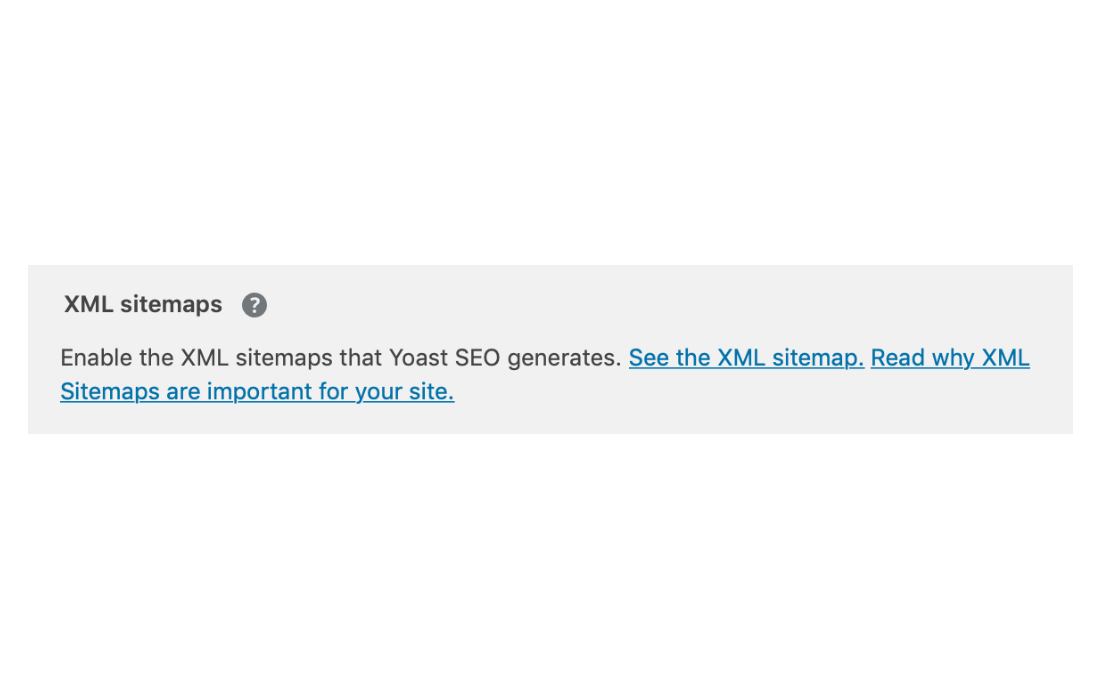
Now you can just click on the See the XML sitemap link and it will bring you to the page below. Listed will be all the sitemaps for your website.
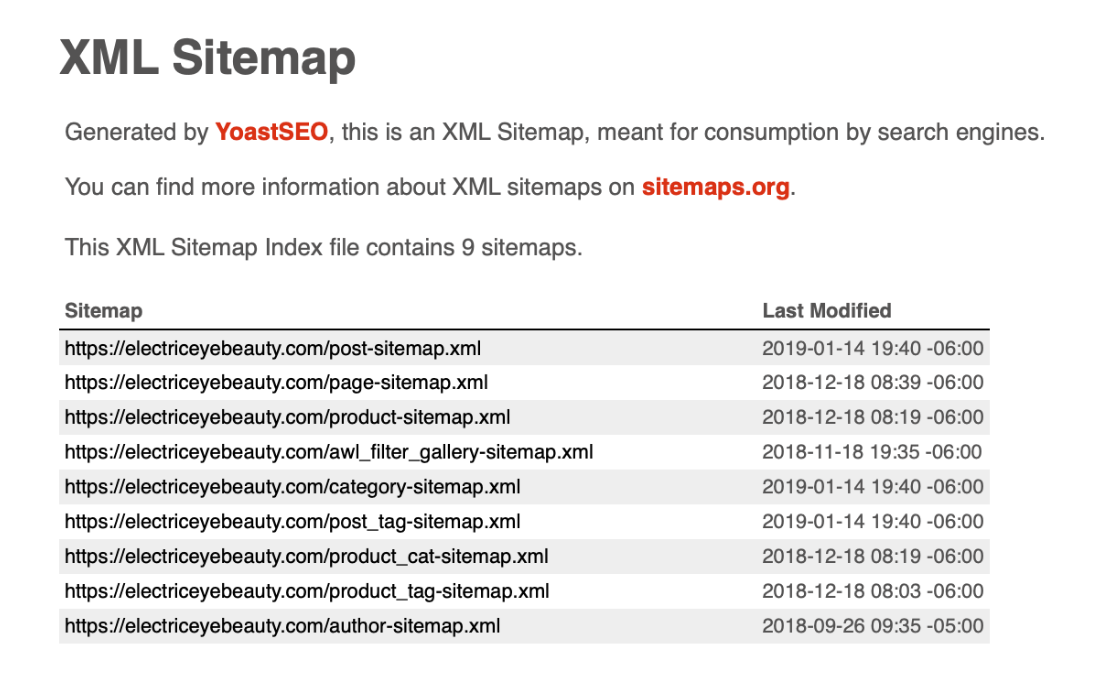
You only need the URL for the XML sitemap page, not all the ones listed. So all you need to do when you’re on this page is go to your address bar and copy the name of the XML sitemap page. You only need the part after your website name.
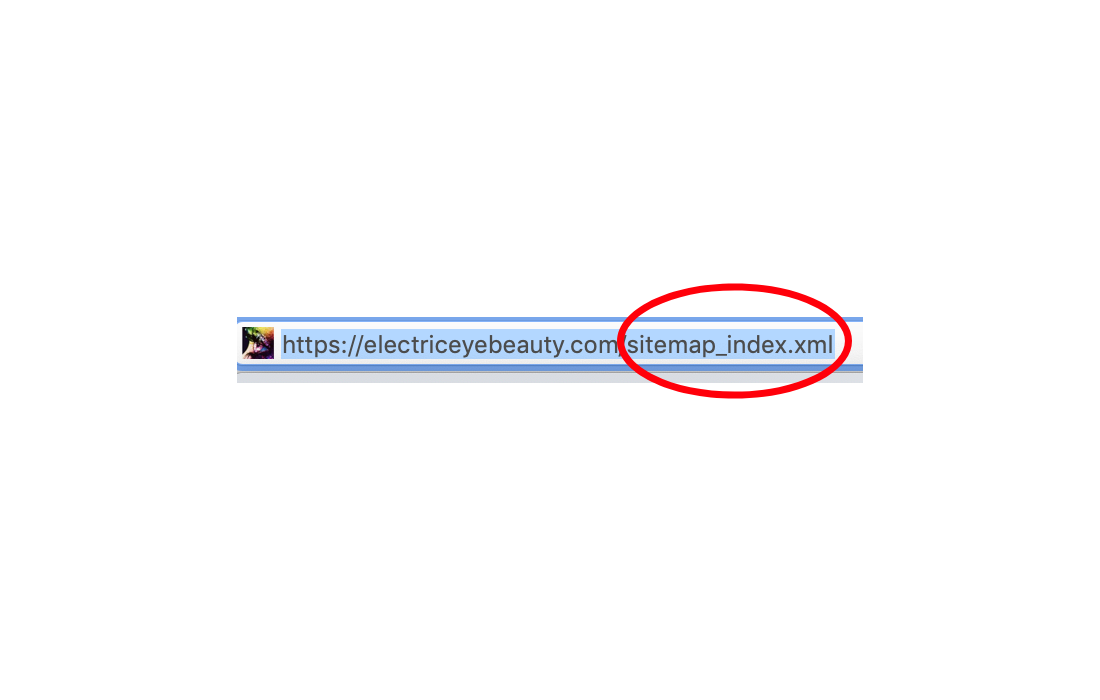
You will now paste this into the area that says Enter sitemap URL and then you will need to click on S
The message below will appear after successfully submitting your sitemap.
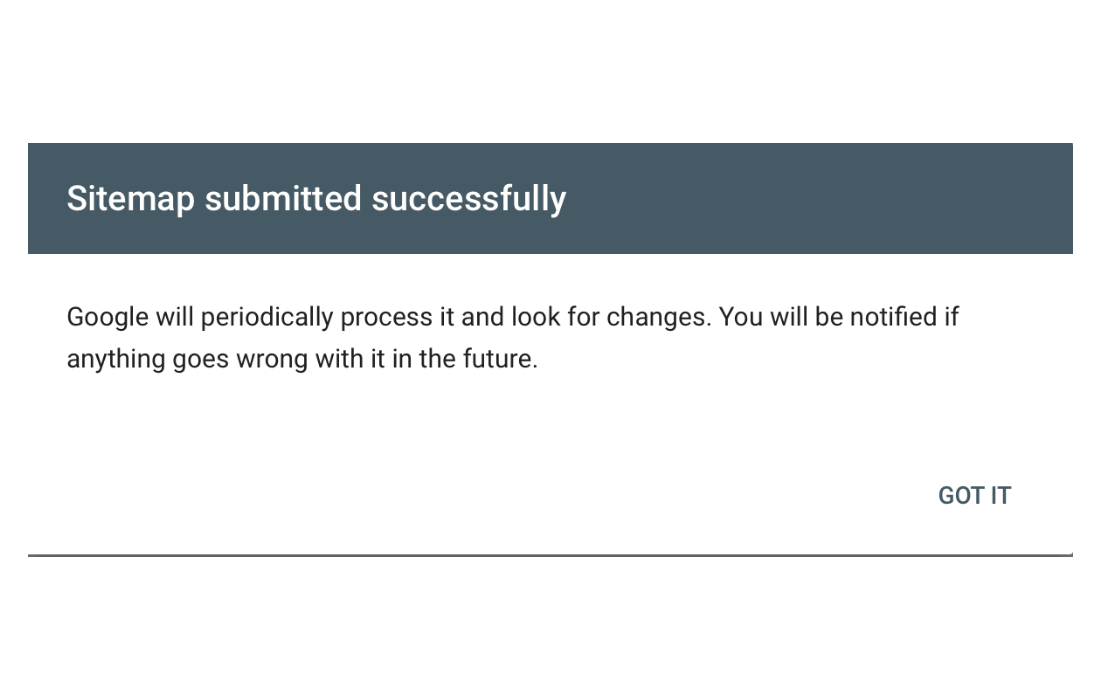
Now your sitemap will appear in the Submitted sitemaps section. This step is now complete.
Link Yoast To Google Search Console
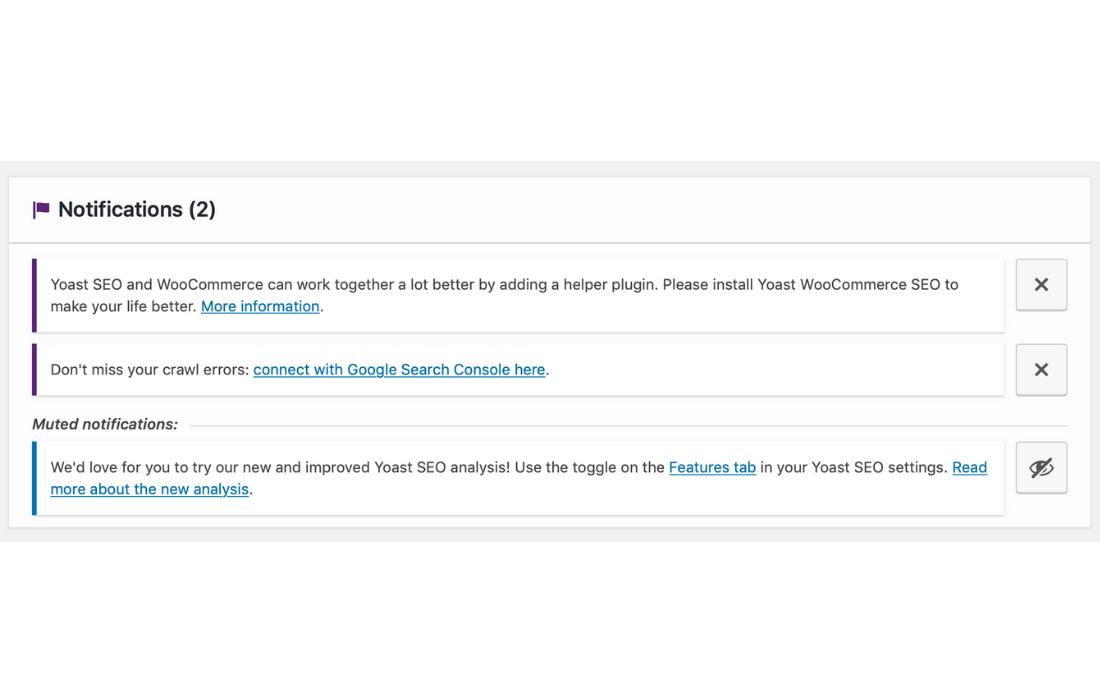
Step 8: After you have set up your Google Search Console if you go back into your WordPress dashboard under the Yoast SEO>General tab you may notice a notification as shown below. Don’t miss your crawl errors: connect with Google Search Console here.
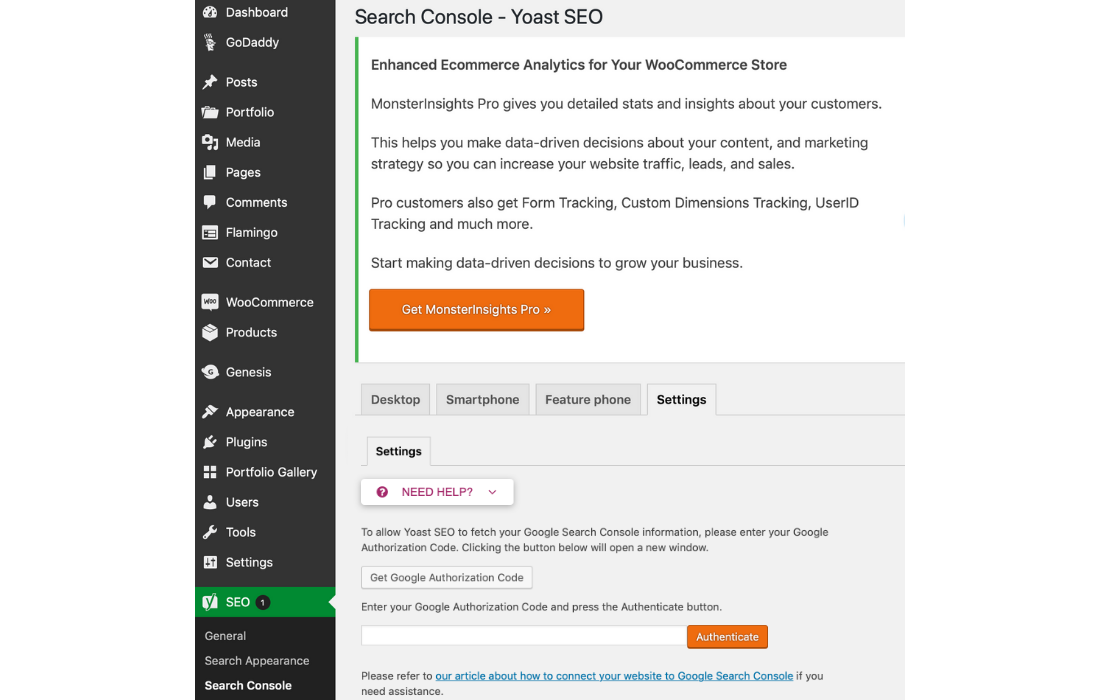
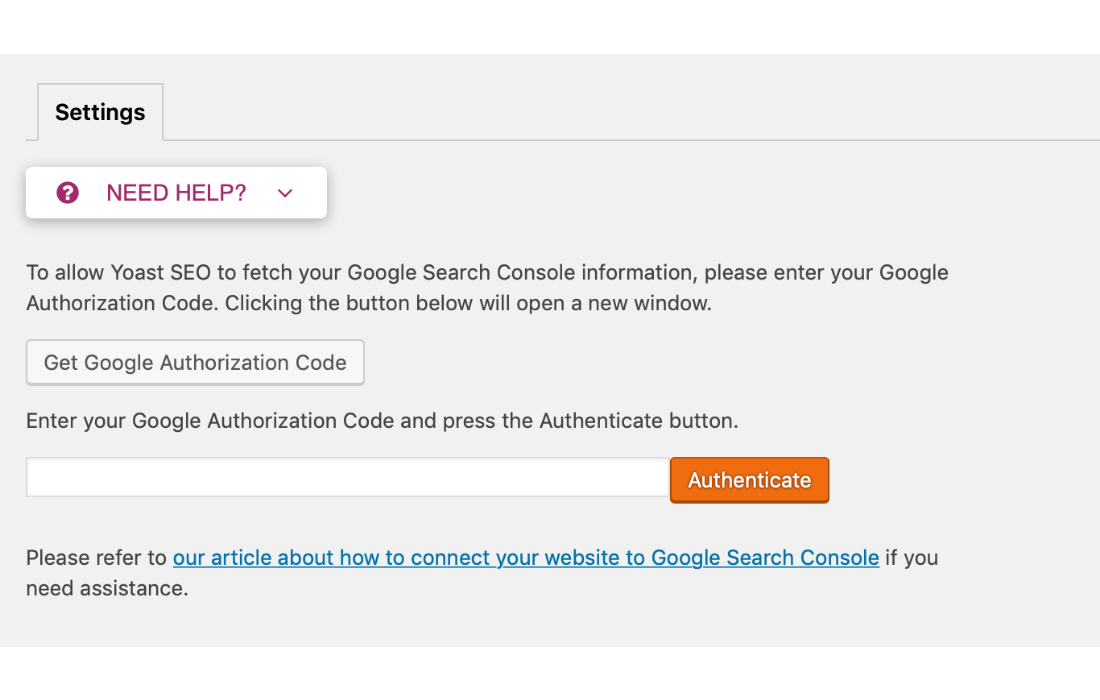
Or if for some reason you are not seeing the notification you can go to Yoast Seo>Search Console>Settings. Basically, if you click the link above it will take right to this page anyways.
Whichever way you find it, go ahead and click on the Get Google Authorization Code button to get the code.
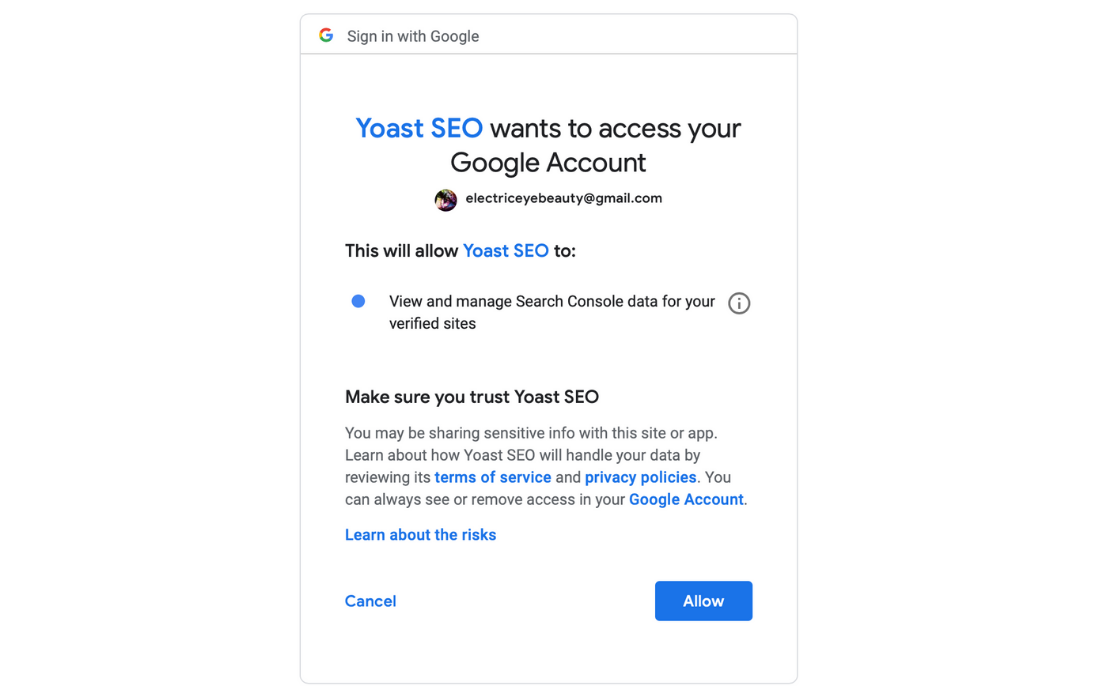
You will need to give permission for Yoast SEO to access your Google account. Click the Allow button.
After you click the Allow button your code will appear.
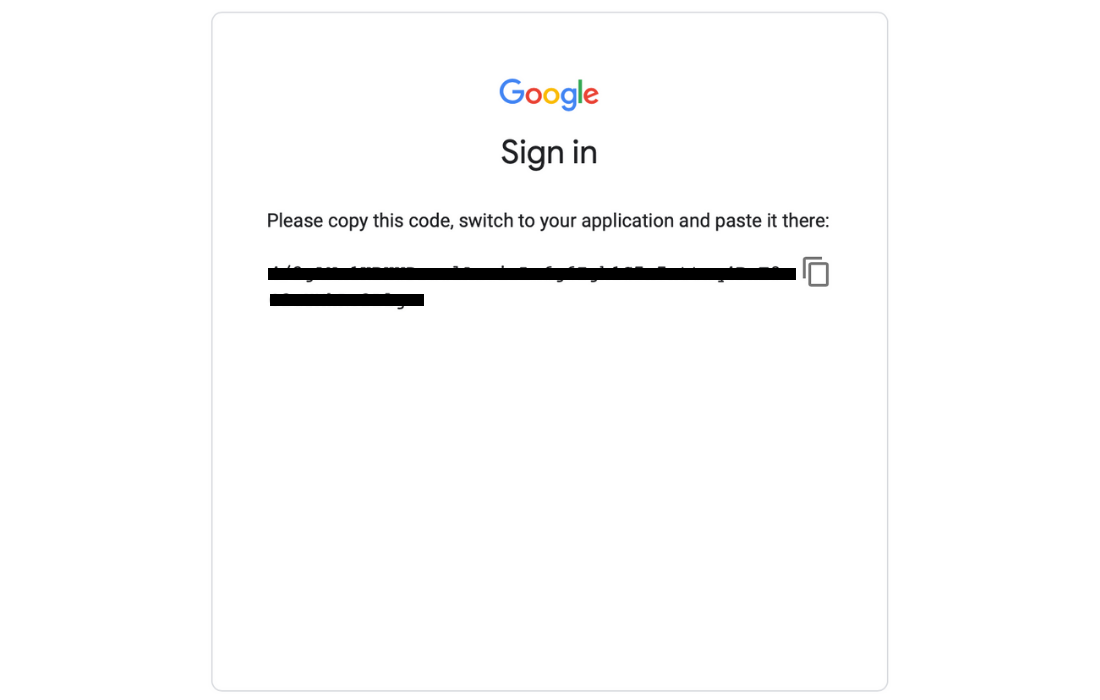
You can copy and paste the code and then click on the Authenticate button.
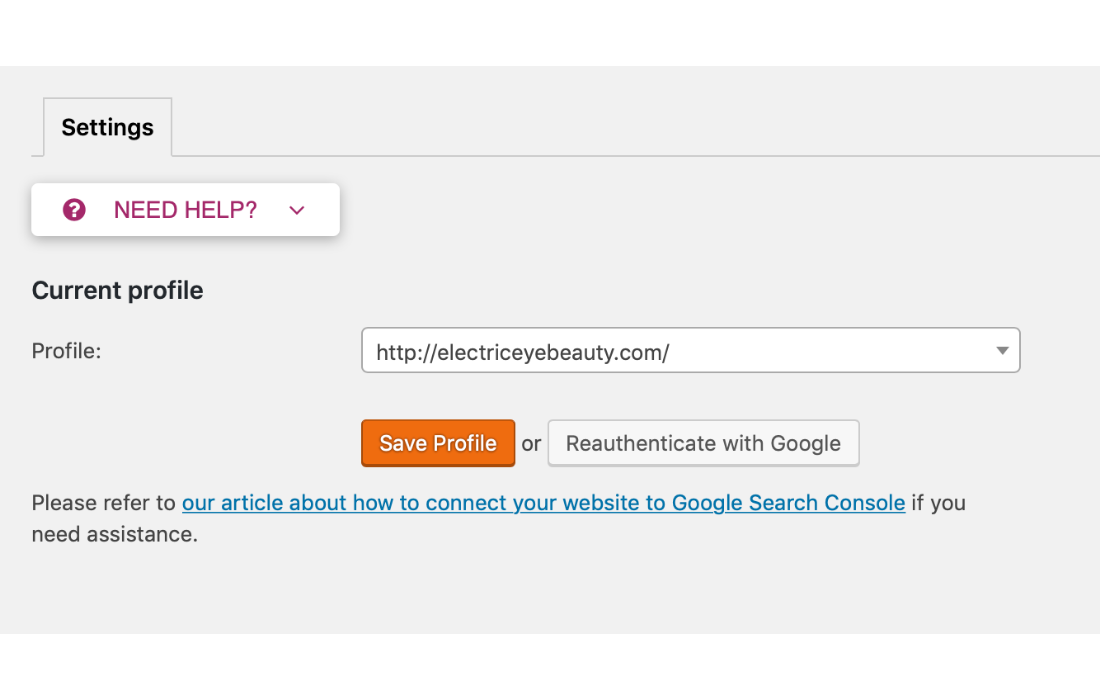
You are almost finished, just click on Save Profile and then you are done.
Now, you have successfully linked your Google Search Console with Yoast SEO. This would let you access all the crawl issues directly from WordPress dashboard.
Link Google Search Console To Google Analytics
Step 9: The final step in setting up Google Search Console is to link it to your Google Analytics account.
Linking them will allow the two accounts to share information, providing even more data for you to analyze. You will then be able to
Begin by heading over the Google Analytics website. You should already be logged into your Google account so it should bring you to your home page.
Click on the gear at the bottom left hand corner and then click on Property
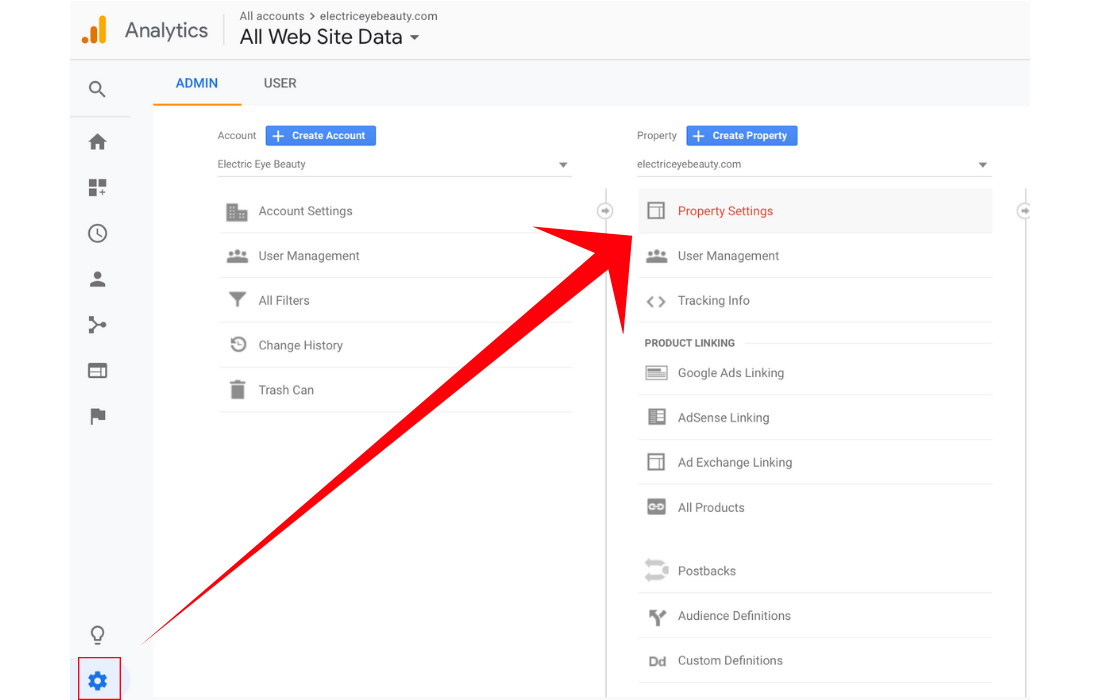
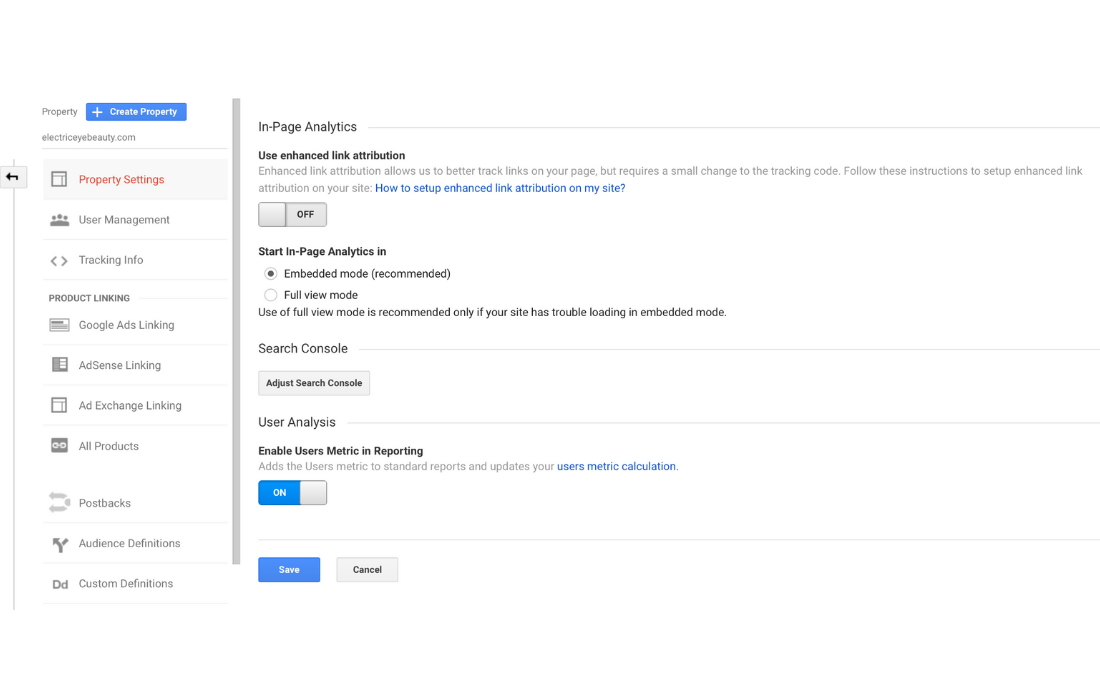
After you click on Property Settings scroll down until you see the Search Console section (it will be towards the bottom). Then click on the Adjust Search Console button.
Now you will see the message below. Click on Add.
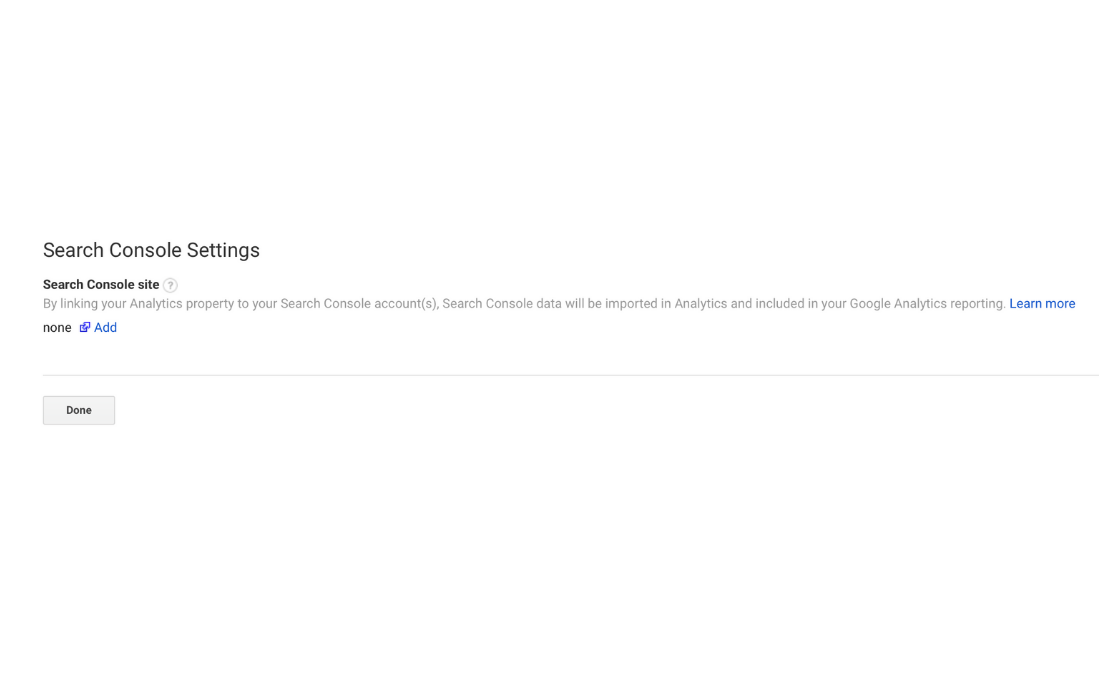
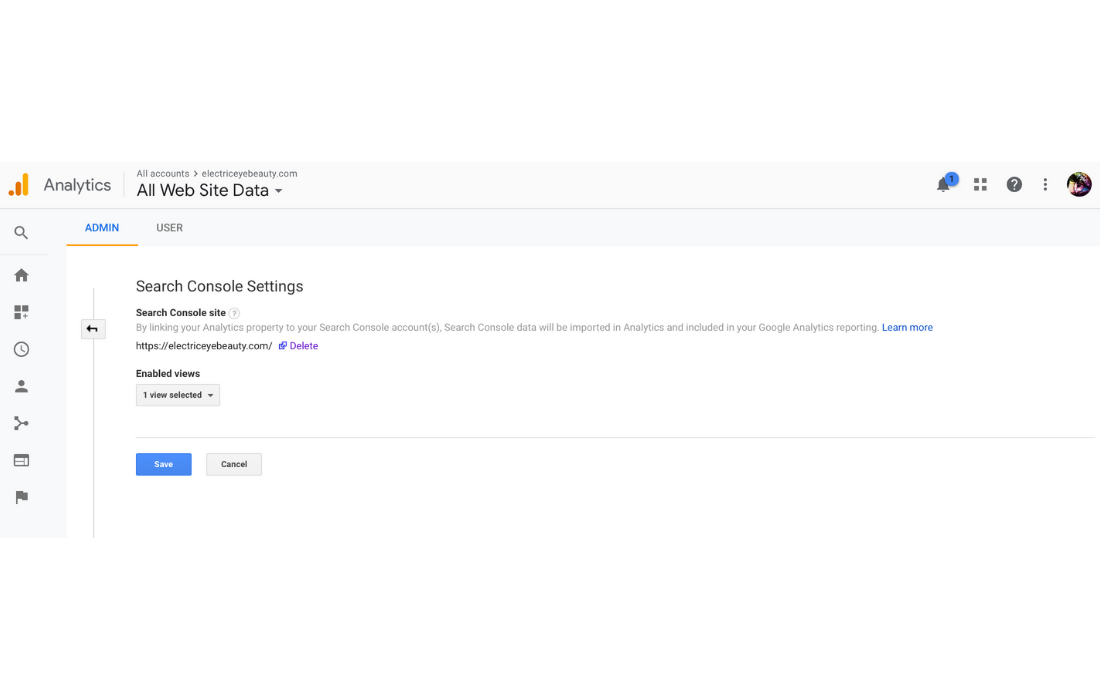
Here you need to select which version of the URL that you use for your website. Then click on Save.

After you hit the Save button you will see the message below. Go ahead and click the OK button.
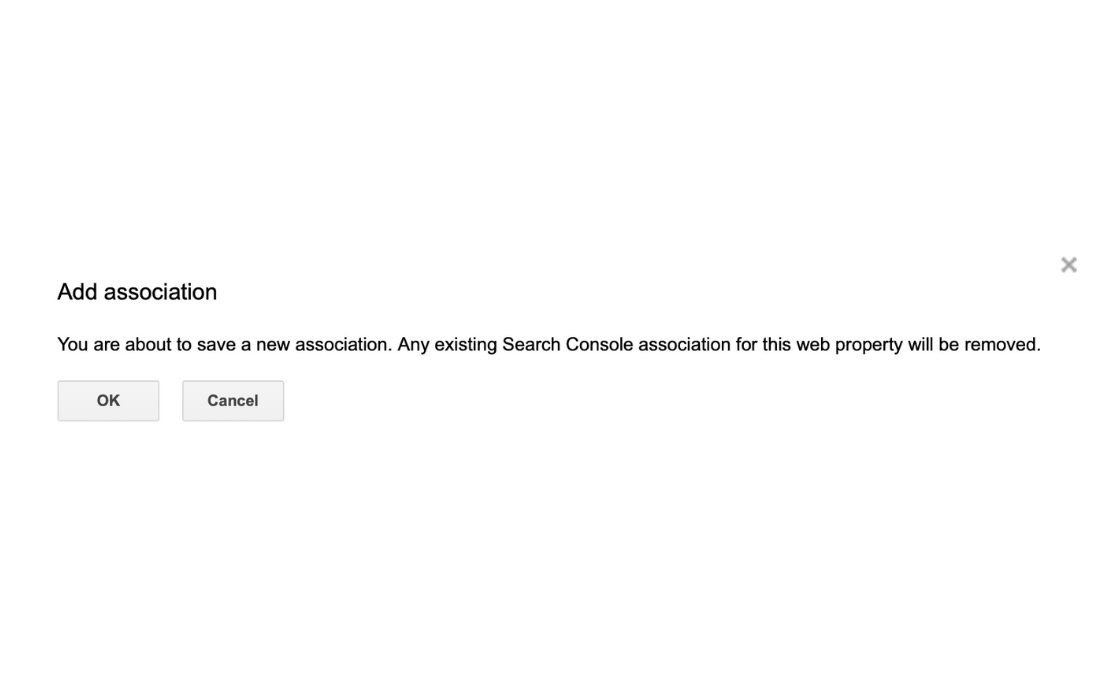
Finally, the very last step. It seems like we would never get here lol. All you have to do it click on the Save button and you are finished, YAY!
Final Thoughts
Now that have Google Search Console all setup, you will need to wait a few days before it starts gathering information.
After those few days are up, check back so you can your view your website’s performance.
You can become familiar with your Google Search Console Dashboard by visiting it often and studying it.
Questions or comments? Let me know below, thanks for reading!
✨Are you feeling overwhelmed with setting up your blog? I completely understand! It took me almost a year to learn everything there is to know. But I have good news for you, I am offering one-on-one blog coaching to help you
Don’t waste all that time researching information wondering what is correct and what is good advice. I have already done that for you. I have been blogging since 2014 and I have been a business owner since 2002, so I come with a great deal of experience and knowledge.
Get your blog up and running and making money in no time!